Oh happy May

How to Take Screenshots on Windows 10 and Windows 11
Taking screenshots on Windows 10 and Windows 11 is easy and can be done in several ways. Here are the most common methods to help you capture the screen quickly and efficiently.
Using Keyboard Shortcuts
-
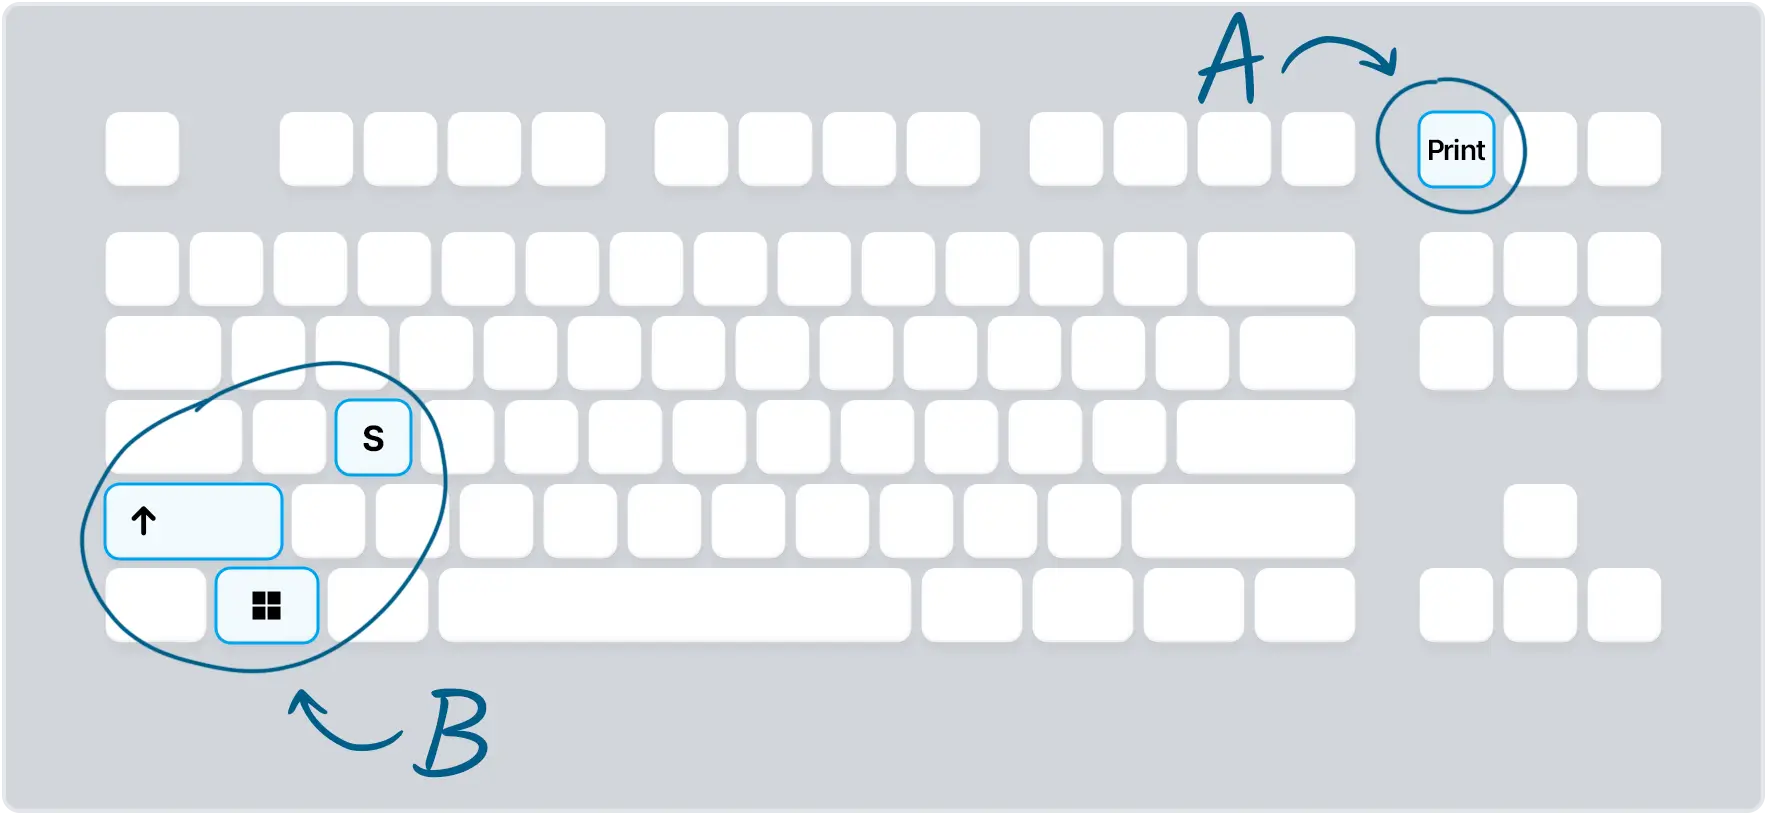
1Capture all screensPress the Print Screen key to capture the content of all screens. The screenshot is copied to the clipboard and can be pasted into an image editing program like Paint (Ctrl + V).
-
2Capture the active windowPress Alt + Print Screen to capture only the active window. This screenshot is also copied to the clipboard.
-
3Automatically save the entire screen contentPress Windows + Print Screen. This captures all screens and automatically saves the screenshot in the "Screenshots" folder in the "Pictures" directory.
-
1Press Windows + Shift + S to open the screenshot overlayHere you can capture a rectangular area, freeform area, specific window, or the entire screen. The screenshot is copied to the clipboard and can be pasted into an image editing program or edited in the internal editor by clicking on the notification that appears. Additionally, the image is saved in the "Screenshots" folder.

Using the Snipping Tool
-
1Open the Snipping Tool by opening the Start menu and searching for "Snipping Tool."
-
2Click "New" to create a new snip and choose the snip type from the top toolbar:Rectangular, freeform, window, or full screen. Then select the window or area you want to capture. The screenshot will open in the Snipping Tool editor, where you can edit or save it.
-
3You can also select a delay before clicking "New" to capture screenshots taken after a few seconds.This is useful for capturing context menus or tooltips.
Using the Xbox Game Bar
-
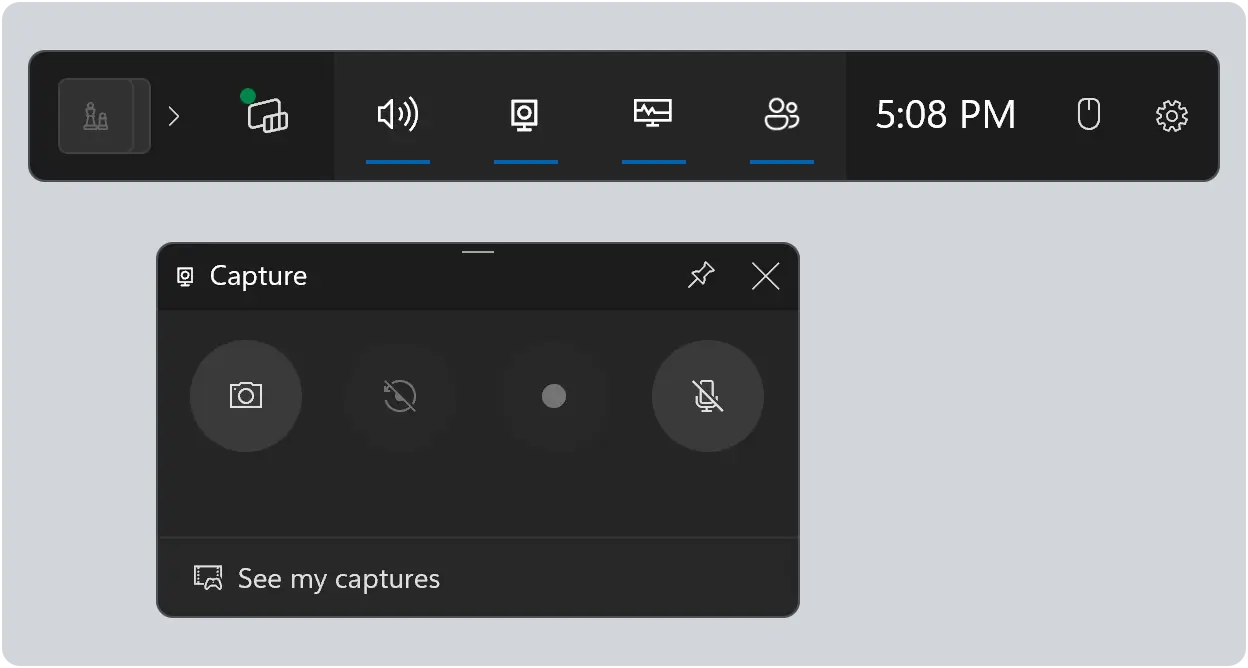
1Press Windows + G to open the Xbox Game Bar.
-
2Use the Capture widget (usually in the upper left) to take screenshots.This method is especially useful for capturing game content or active windows.
Want more?
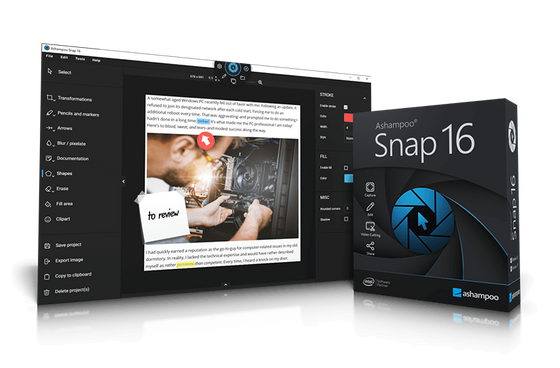
No problem! With Ashampoo Snap, taking screenshots or videos becomes a breeze!
Everything that appears on your screen can be quickly and effortlessly captured as an image or video. Compared to Windows built-in tools, Snap 16 offers a wealth of additional features: you can edit your captures directly in the editor and enrich them with graphic elements such as automatic numbering, comments, and stickers. Snap also allows for the creation of scrolling screenshots and delayed captures, which is not possible with the standard Windows tools. Furthermore, it offers advanced video recording features, enabling you to edit your videos live and add text, drawings, and comments. Whether in the home office or creating tutorials, Ashampoo Snap gets you to your goal quickly and efficiently!
Get the ultimate screenshot tool